
Imagine stepping into a world where buzzing bees play a vital role in our ecosystem. A bee hive house isn’t just a simple structure; it’s a thriving community that supports these incredible pollinators. Whether you're a seasoned beekeeper or just curious about the fascinating lives of bees, understanding how these hives function can deepen your appreciation for nature.
In this article, you'll discover the essential elements of a bee hive house, from its design to its importance in promoting biodiversity. You'll learn how these hives provide shelter and nourishment for bees while also contributing to the health of our environment. Get ready to explore the intricate world of bee hives and see how you can support these essential creatures in your own backyard.
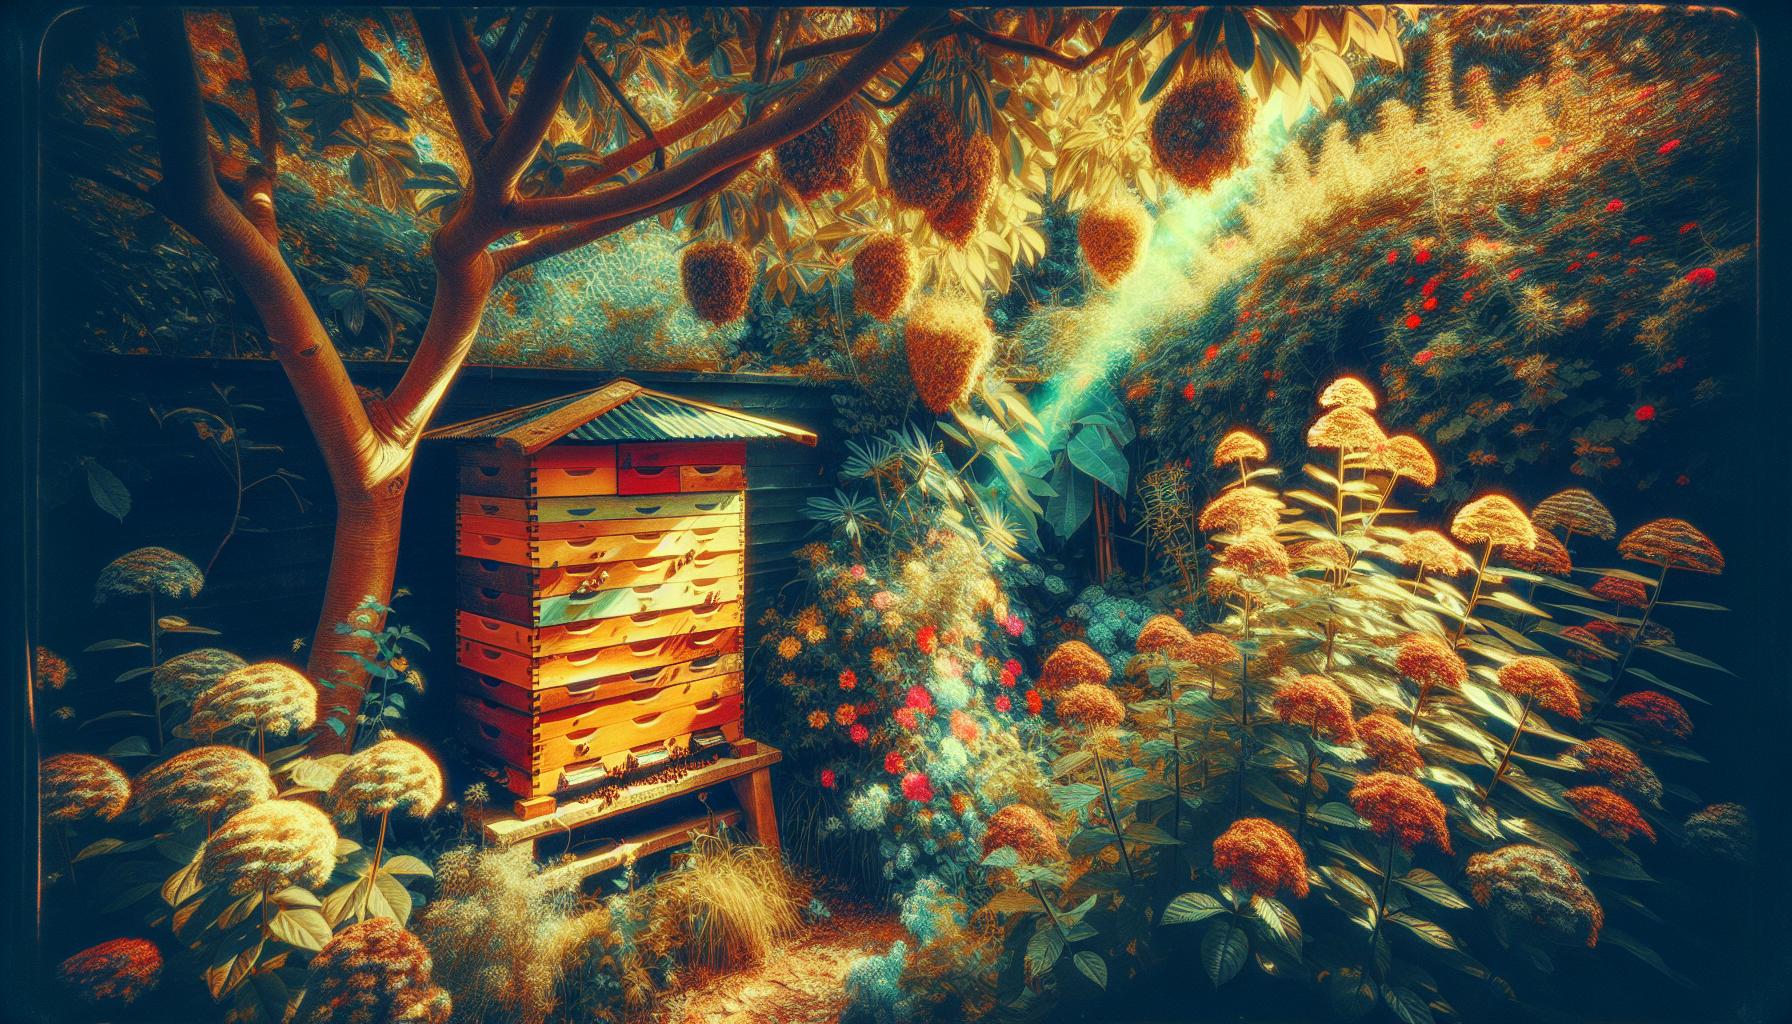
Understanding Bee Hives House
Understanding bee hives requires knowledge of their structure and function. Bee hives, often designed to simulate natural nests, provide essential shelter for bees. They typically consist of several key components, including the brood chamber, honey super, frames, and entrance.
1. Brood Chamber
The brood chamber serves as the primary area where bees rear young and store food. This space accommodates the queen bee and her offspring. The typical brood chamber is located at the bottom of the hive. It contains frames where bees build their honeycomb.
2. Honey Super
The honey super sits above the brood chamber. This area stores honey produced by worker bees during foraging. Beekeepers often place honey supers on top of brood chambers to allow for efficient collection of excess honey. These supers can vary in height and size based on the hive design.
3. Frames
Frames fit inside both the brood chamber and honey supers. They support the honeycomb structure, enabling bees to build and shape their home. Each frame provides space for bees to store honey, pollen, and brood.
4. Entrance
The entrance, typically located at the front of the hive, allows for easy access. This opening permits bees to enter and exit freely during foraging. Proper entrance size ensures good ventilation and security from pests.
5. Insulation and Protection
Bee hives need adequate insulation to maintain a stable internal environment. Different materials, such as wood or polystyrene, offer various insulation levels. Protection against weather elements and predatory creatures is vital for hive health.
6. Maintenance
Regular maintenance of bee hives involves monitoring for pests, disease, and overall health. Check and replace damaged frames or comb. Inspect for adequate food stores, especially during winter months.
7. Location
Choosing the right placement for your bee hive matters. Place hives in sunny areas that are shielded from strong winds. Ensure easy access to natural food sources like flowering plants.
Understanding these features allows you to support bee colonies effectively. Creating a welcoming environment fosters healthy bee populations, which in turn benefits local ecosystems. Proper knowledge of bee hives promotes successful beekeeping and enhances biodiversity in your area.
Choosing the Right Location for Your Bee Hives House
Choosing the right location for your bee hives house significantly impacts bee health and productivity. Considerations such as sunlight exposure, wind protection, and proximity to food sources enhance the success of your bee colonies.
Sunlight and Shade Considerations
Select a site that receives 6-8 hours of sunlight daily. Morning sunlight helps warm the hives, promoting early activity. The late afternoon sun provides warmth as temperatures drop.
Avoid placing hives in direct midday sun, especially in hot climates. Too much heat can stress bees and reduce honey production. Additionally, consider natural or artificial shade. Use nearby trees or shrubs to create partial shade, preventing overheating during peak heat.
Monitor local wildlife and consider how it interacts with sunlight patterns. Ensure flowers nearby bloom at different times, offering bees access to pollen and nectar throughout seasons. Diverse vegetation supports healthy bee populations, providing an ideal environment for your hives.
Wind Protection Tips
Protect hives from strong winds using natural barriers like trees, fences, or shrubs. Locate your hives in a sheltered area, minimizing exposure to harsh gusts. Wind can disrupt bee flight patterns and lead to stress.
Position hives away from open fields or hills where winds gather strength. A structure that blocks wind helps maintain hive temperature and stability. Assess the wind direction in your area, ensuring barriers align to provide effective protection.
Consider the aesthetics of your location as well. The presence of windbreaks contributes to a pleasant environment for beekeeping. A sheltered strategic placement boosts colony health, enhancing your success as a beekeeper.
Materials Needed for Building a Bee Hives House
Building a bee hive house requires specific materials to ensure functionality and durability. Use high-quality materials to support healthy bee populations.
Wood Types and Specifications
Choose wood carefully for the hive structure. Cedar stands out because of its resistance to decay. Pine is a cost-effective option; use untreated wood to avoid chemical exposure. Dimensions matter: use a thickness of at least ¾ inch to provide adequate insulation and strength. Boards should measure 8 feet long for hive body construction. Plywood is useful for making hive floors and lids. Ensure all surfaces are smooth to promote bee safety and facilitate maintenance. Stain or treat exterior wood surfaces with natural, non-toxic products to extend lifespan without harming the bees.
Insulation Materials
Insulation plays a crucial role in maintaining a stable hive temperature. Foam boards provide excellent thermal properties; choose boards with a thickness of 1 inch for optimal performance. Straw serves as another option: pack tightly in walls for added insulation. Styrofoam panels resist moisture and can help regulate temperature. Cover insulation materials with food-safe cloth or panels for safety. Reflective materials, like aluminum foil, can also be used inside the hive to deflect heat during summer. Ensure all insulation fits snugly to prevent gaps where cold air can enter.
Tools Required for Construction
Building a bee hive house requires various tools to ensure a successful and efficient construction process. Utilize a mix of hand tools and power tools to achieve precise results. The following sections provide an overview of essential tools you must consider for your bee hive construction project.
Essential Hand Tools
- Tape Measure: Use a tape measure for accurate measurements of wood pieces and hive dimensions. A minimum length of 25 feet covers most projects.
- Square: Employ a framing square for ensuring right angles. This tool guarantees that joints and corners align precisely.
- Saw: Select a handsaw or miter saw for cutting wood. A miter saw provides clean cuts, ideal for precision in hive assembly.
- Hammer: Choose a claw hammer for driving nails into wood. Ensure the hammer has a comfortable grip for improved handling.
- Screwdriver: Utilize both Phillips and flathead screwdrivers to secure screws. A set with varying sizes accommodates different screw types.
- Chisel: Incorporate a wood chisel for removing excess wood or shaping edges. Size 1 inch works well for many tasks.
- Level: Check the evenness of your hive structure with a spirit level. Maintaining level surfaces promotes stability.
- Pencil: Mark measurements and guidelines with a carpenter’s pencil. This tool stands out on wood surfaces for easy visibility.
Power Tools for Efficiency
- Power Drill: Use a cordless power drill for drilling holes and driving screws. A drill with multiple speed settings improves control.
- Circular Saw: Employ a circular saw for larger cuts and sheet materials. This tool speeds up the cutting process significantly.
- Router: Incorporate a router for shaping edges and creating joints. A fixed-base router offers stability for more controlled cuts.
- Jigsaw: Utilize a jigsaw for making intricate cuts or curves in wood. This tool is versatile and suitable for various designs.
- Sander: Select an orbital sander for smoothing surfaces. Sanding ensures a polished finish, which is critical for bee safety.
- Nail Gun: Invest in a pneumatic or electric nail gun for fast assembly. A nail gun reduces manual effort and boosts construction speed.
- Table Saw: Use a table saw for precise, straight cuts on larger wood pieces. This tool enhances accuracy compared to handheld saws.
- Shop Vacuum: Maintain a clean workspace with a shop vacuum. Cleaning debris during construction keeps the area safe and organized.
Using these specified tools, you can streamline the construction of your bee hive house and ensure a well-built structure for your bees.
Step-by-Step Guide to Building a Bee Hives House
Building a bee hives house involves several essential steps for a strong and functional structure. Follow this guide for each phase of the construction process.
Preparing the Foundation
Select a flat surface for the foundation. Level the ground thoroughly to ensure stability. Build a rectangular frame from pressure-treated wood, measuring 4 feet by 8 feet. Secure the corners using wood screws and ensure each side is square. Place concrete blocks or bricks under the corners and center for support. Lay a sheet of plywood on top of the frame for a solid base to prevent dampness from the ground. This base should extend beyond the edges of the frame by about 2 inches. Use waterproof sealant on the edges to enhance durability. Confirm that the foundation remains level by checking with a level tool before proceeding to the next step.
Constructing the Walls
Cut plywood panels according to your hive design. Standard bee hive walls measure 5 feet high and 4 feet wide. Assemble walls using wood screws, attaching each panel at the edges. Ensure a good seal at the corners by using wood glue before adding screws. For added strength, consider using 1x4 lumber to create a frame for each panel. Add a brood chamber wall at the center for creating separate spaces within the hive. Drill entrance holes at least 3 inches in diameter on one wall to allow bees easy access. Sand any rough edges to avoid injuring the bees and improve durability. Finally, paint the exterior with non-toxic paint for extra protection against the elements.
Adding the Roof
Cut two large plywood panels to fit over the hive walls, ensuring they overhang by at least 2 inches on each side. Assemble them together at an angle for a sloped design that encourages rain runoff. Use wood screws to hold the panels securely in place. Make sure the roof is sturdy enough to withstand strong winds. For extra insulation, add an additional layer of foam board between the plywood layers. Seal the edges with weatherproof tape to prevent leaks. Ensure the roof design allows for easy removal for hive maintenance. Regularly check and replace the roof lining if necessary to protect the hive from weather damage.
Installing Ventilation
Drill small holes for ventilation, spaced about 1 foot apart along the sides of the hive, away from the entrance. Use a drill bit that creates holes no larger than ½ inch in diameter. Cover each hole with fine mesh to keep pests out while allowing airflow. Incorporate a small vent on the opposite side of the entrance to enhance air circulation. Consider using adjustable vents for seasonal control, allowing you to regulate temperature and humidity levels inside the hive. Maintain clearance around vents to promote effective airflow. Regularly inspect the ventilation system during hive maintenance to ensure holes remain unobstructed.
Designing the Interior of the Bee Hives House
Creating an effective interior for your bee hive house involves considering spacing, layout, and accessibility to promote healthy bee populations.
Hive Spacing and Layout
Arranging hives with proper spacing encourages healthy airflow and prevents overcrowding. Space hives at least 6-8 inches apart to allow bees to move freely. Configure the layout in rows or clusters, ensuring hives face southeast to maximize morning sunlight. Use paths between rows for easy access during maintenance. Arrange the hives in a way that minimizes shade during peak sun hours, as this helps maintain appropriate temperature levels within the hive. Include space for bee forage around the hives to provide easy access to pollen and nectar. Additionally, ensure that each hive has a direct exit route to prevent worker bees from disorienting themselves.
Accessibility Considerations
Design the bee hive house for easy access during inspections and maintenance. Create wide paths around each hive, measuring at least 3 feet, to allow comfortable movement. Use non-slip surfaces to minimize accidents when working near the hives. Consider incorporating shelves for tools and equipment, keeping them within easy reach. Placing hives at waist height minimizes physical strain during inspections and honey extraction. Install suitable lighting to enhance visibility, especially during early morning or late evening checks. Ensure access to water sources for bees, as this promotes hydration and supports hive health. Design with practicality in mind to streamline your beekeeping activities and improve overall efficiency.
Maintenance Tips for Your Bee Hives House
Maintaining your bee hives house ensures a healthy environment for your bees. Focus on cleanliness and regular upkeep to promote the well-being of your colonies.
Regular Cleaning Practices
Maintaining a clean bee hive house prevents diseases and pests. Clean hive components like frames, supers, and the interior regularly. Remove old comb and any debris that may accumulate. Scrub surfaces using a mild soap solution. Rinse thoroughly and allow to dry completely before reassembling the hive.
Inspect the entrance for blockages regularly to ensure smooth bee traffic. A clear entrance helps prevent robbing by other bees. Keep the area surrounding the hive free of tall grass, weeds, and debris. These can harbor pests. Identify any signs of mold or rot on the hive and address them immediately. Performing these tasks bi-weekly during the active season can significantly improve hive health.
Seasonal Upkeep
Seasonal maintenance tasks help prepare your bee hive house for changing conditions. In the spring, inspect for signs of winter loss, like dead bees or empty frames. Replace any damaged components and replenish food stores if needed. Ensure the hive has proper ventilation as temperatures rise.
In summer, monitor bee activity and watch for pests like varroa mites. Apply necessary treatments if you detect infestations. Check honey levels and prepare for harvest if ample supplies exist.
During fall, prepare your hives for winter by checking insulation and reducing entrances to keep warmth in. Ensure sufficient food reserves are present for the winter months. In preparation for colder weather, use moisture-absorbing materials to reduce humidity inside the hive.
In winter, conduct infrequent checks to minimize disturbances. Avoid opening the hives too often, as this can chill the bees. Regular maintenance through the seasons helps maintain a thriving colony.
Troubleshooting Common Issues
Understanding common issues with bee hives allows for effective management and a healthier environment for bees. Here are some common problems and their solutions.
Pest Control Solutions
Pests can harm bee populations significantly. Identify signs of infestations early, such as dead bees or unusual behavior. Implement these solutions:
- Regular Inspections: Examine hives weekly. Look for pests like Varroa mites or wax moths.
- Natural Predators: Consider introducing beneficial insects. Ladybugs and lacewings help control pest numbers.
- Sticky Traps: Place traps at the hive entrance. These capture flying pests and reduce access to the hive.
- Essential Oils: Use oils like tea tree or peppermint. These oils deter pests while remaining safe for bees.
- Maintain Cleanliness: Remove debris around the hive. A clean environment minimizes pest attraction.
These strategies promote a healthy bee population and reduce the risk of infestations.
Addressing Temperature Fluctuations
Temperature control is vital for bee health. Bees thrive in stable environments. Take the following actions to manage temperature fluctuations:
- Insulate Hives: Use materials like foam board or straw. Insulation maintains consistent temperatures.
- Shade in Summer: Position hives in shaded areas. This helps prevent overheating during hot months.
- Ventilation: Ensure proper airflow in hives. Ventilation prevents stagnant air, reducing humidity inside.
- Wind Barriers: Install natural barriers like shrubs or fences. These protect hives from cold winds, helping maintain warmth.
- Monitor Temperatures: Use digital thermometers. Regular monitoring helps identify temperature issues early.
Implementing these steps helps maintain an optimal environment for your bees, supporting their overall health and productivity.
Helpful Tips for Successful Beekeeping
Beekeeping requires knowledge and practice. The following tips provide guidance for a successful experience in managing bee hives.
Choosing the Right Bee Species
Choosing the right bee species plays a crucial role in successful beekeeping. Consider the purpose of your hives, such as honey production or pollination. For honey production, Italian bees are known for their high productivity and gentleness. Carniolan bees adapt well to colder climates and have good foraging ability. Russian bees exhibit resistance to diseases and pests, making them a solid choice for beginners. Research the characteristics of each species to find the best fit for your environment and goals. Ensure accessibility to food sources and proper habitat when selecting species for your hives.
Interacting with Your Bees Safely
Interacting safely with your bees ensures a positive experience for both you and the colony. Always wear protective gear, including a bee suit, gloves, and a veil. Approach hives calmly and speak softly to avoid agitating the bees. Use a smoker before opening hives to soothe them during inspections. Inspect hives during the warmest parts of the day when bees are less defensive. Avoid sudden movements and disturbances to maintain a peaceful environment. Regular interactions help you understand bee behavior and health, which fosters a productive and harmonious relationship with your hives. Use these practices to promote safety and efficiency in your beekeeping activities.
Conclusion
Building a bee hive house is not just about creating a structure; it’s about fostering a thriving environment for bees. By understanding the components and maintenance required for your hives, you can significantly contribute to the health of local bee populations.
Remember to choose the right materials and design your hive house thoughtfully to ensure optimal conditions for your bees. Engaging with these incredible pollinators can be a rewarding experience, offering you the chance to support biodiversity while enjoying the fruits of your labor.
With the right knowledge and practices, you can create a successful beekeeping venture that benefits both you and the ecosystem. Embrace the journey of beekeeping and make a positive impact on your surroundings.
Frequently Asked Questions
What is the purpose of bee hive houses?
Bee hive houses provide shelter and nourishment for bees, crucial for their survival and productivity. They support bee populations by facilitating honey production and pollination, contributing significantly to the ecosystem.
What are the key components of a bee hive?
Key components of a bee hive include the brood chamber, honey super, and frames that support the honeycomb. Each part plays a vital role in bee health, honey storage, and reproduction.
Why is hive maintenance important?
Regular hive maintenance ensures a healthy environment for bees, helping to manage pests, maintain food stores, and monitor hive health. It ultimately promotes strong bee colonies and successful honey production.
How do I choose the right location for my hive?
Select a location with ample sunlight, protection from strong winds, and nearby flowers for foraging. Ensuring adequate shade during hot weather is also crucial for maintaining bee health.
What materials are best for building a bee hive?
High-quality wood, such as cedar or pine, is recommended for durability and insulation. It's essential to choose materials that can withstand outdoor conditions while providing a safe environment for bees.
What tools do I need to build a bee hive house?
Essential tools include both hand and power tools like a saw, drill, hammer, and measuring tape. Maintaining a clean workspace during construction is also important for safety and efficiency.
How can I maintain my bee hive effectively?
Regular maintenance involves seasonal inspections, pest control, and managing food stores. Troubleshooting temperature management and addressing any issues promptly will help keep your bee hive healthy.
What bee species are best for beginners?
For beginners, Italian bees are often recommended due to their gentle nature and prolific honey production. Carniolan and Russian bees are also good options, depending on your local environment and goals.
How can I safely interact with bees?
To safely interact with bees, wear proper protective gear, move calmly, and use gentle techniques during inspections. Developing a calm presence helps build trust and minimizes stress for the bees.
Ready to Support Our Vital Pollinators?
Building a bee hive house is a beautiful way to connect with nature and make a real difference for our environment. Whether you're dreaming of starting your first hive or enhancing an existing setup, every step you take helps strengthen our ecosystems.
Start your beekeeping journey today! Dive deeper, build your hive, and watch your garden — and the world — bloom.
Subscribe for more beekeeping tips, DIY guides, and nature-loving inspiration!