
If you're looking to dive into the world of beekeeping, the Warre hive might just be your perfect match. Designed with both bees and beekeepers in mind, this unique hive offers a natural approach to honey production. Unlike traditional hives, the Warre hive mimics the bees' natural habitat, promoting healthier colonies and easier maintenance.
You’ll discover that the simplicity of the Warre hive makes it accessible for beginners while still providing benefits for seasoned beekeepers. With its vertical design and minimal intervention philosophy, you can cultivate a thriving bee colony without the stress of constant monitoring. Whether you're after honey or simply want to support local ecosystems, the Warre hive is an excellent choice for sustainable beekeeping. Get ready to explore the advantages and features of this innovative hive that’s capturing the hearts of beekeepers everywhere.
What Is a Warre Hive?
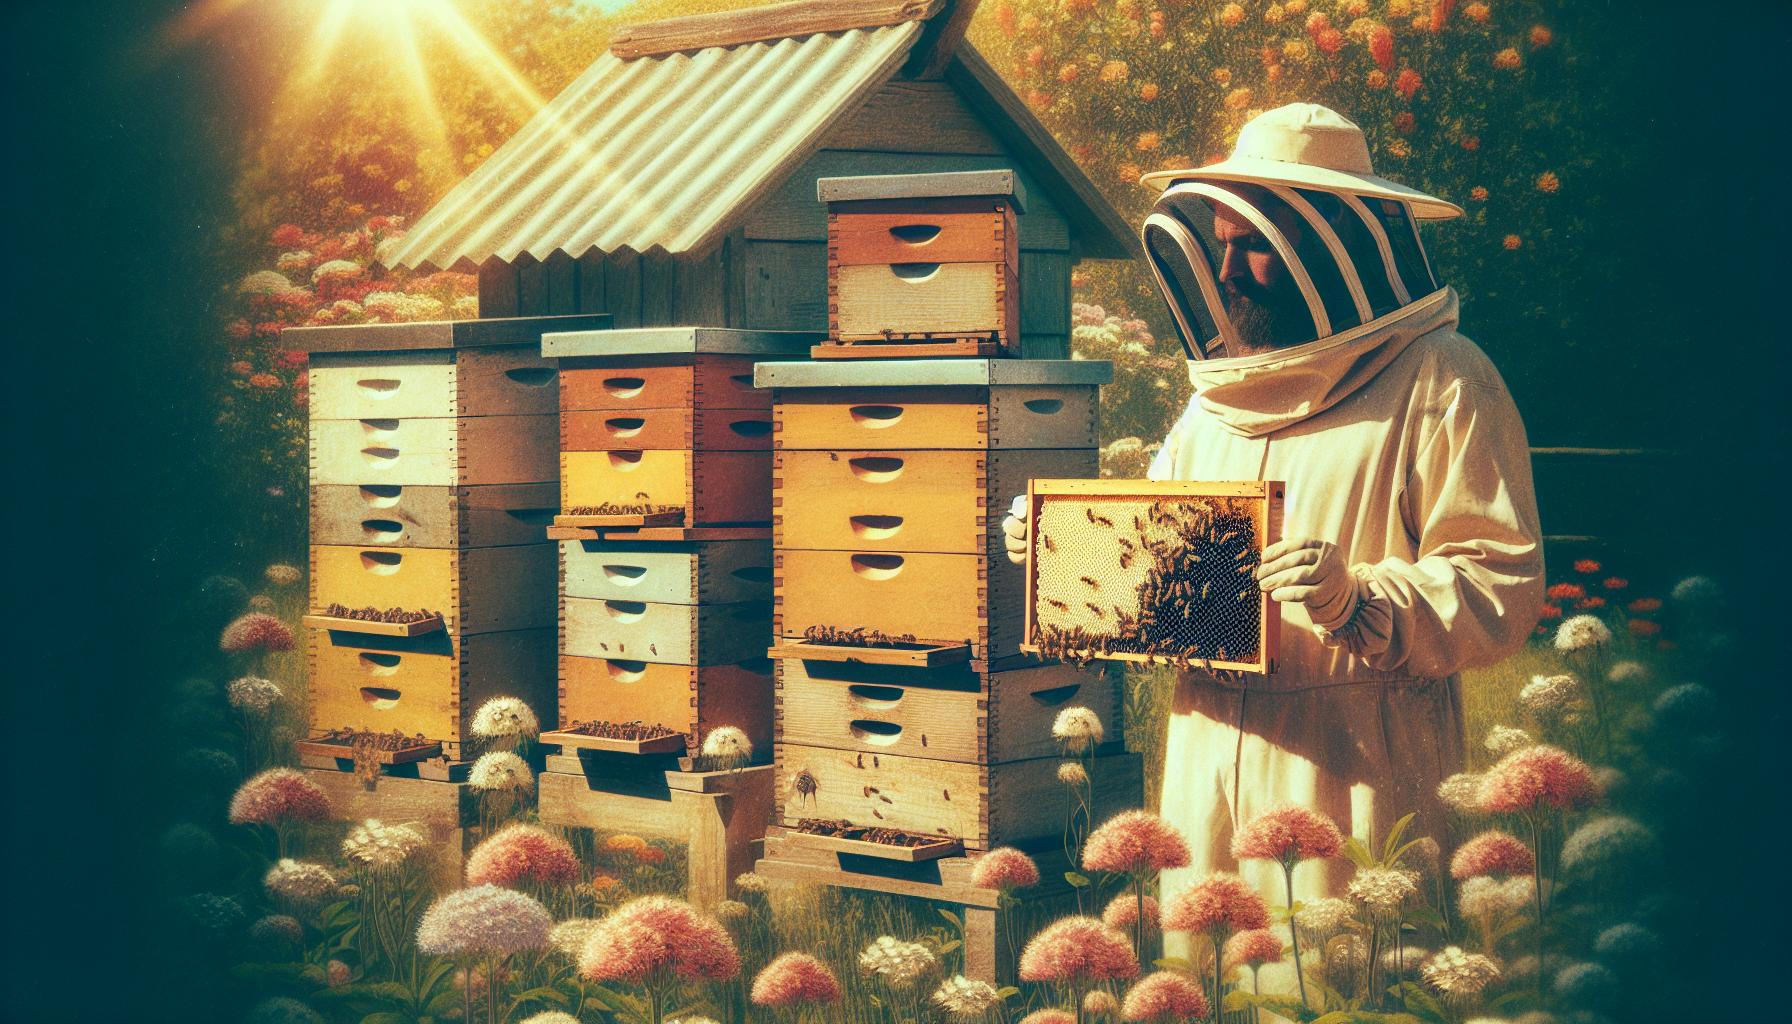
A Warre hive is a beekeeping structure designed to mimic the natural habitat of bees. The hive consists of vertical boxes stacked on top of each other. You add boxes as your bee colony grows. This design caters to the natural instincts of the bees, allowing them to build honeycomb and raise brood as they would in the wild.
The Warre hive promotes minimal intervention. You observe the bees without disturbing them frequently. This method encourages healthier colonies as bees manage their environment. It allows them to control temperature, humidity, and airflow more effectively.
Constructed primarily from wood, the hive features deep boxes that provide ample space for bees to thrive. Each box holds frames for honeycomb and brood. A Warre hive typically has a top cover that offers insulation, which helps regulate the temperature inside.
Warre hives are suitable for beginners and experienced keepers alike. Their vertical design makes honey harvesting easier. As you add boxes, honey production generally increases, leading you to harvest more honey without extensive manipulation.
The hive promotes a more natural approach to beekeeping. It allows bees to exhibit normal behaviors, such as clustering and swarming, thereby enhancing their overall well-being. This method requires less management and lets bees live as close to their natural conditions as possible.
A Warre hive offers a unique solution for beekeepers. It supports the natural needs of bees and simplifies maintenance. You can enjoy a sustainable beekeeping practice while supporting a healthy bee population.
Benefits of Using a Warre Hive
The Warre hive offers numerous advantages for beekeepers looking to support bee health and improve honey production. These benefits stem from its unique design and philosophy.
Natural Beekeeping Approach
The Warre hive favors a natural beekeeping approach that aligns with how bees thrive in the wild. Using stacked boxes allows bees to create their honeycomb in a way that mimics their natural environment. This design leads to healthier colonies because bees experience minimal disruption during their daily activities. The hive requires fewer interventions from beekeepers, promoting a more hands-off management style. Beekeepers can monitor the colony without constant disturbances, which maintains a calmer atmosphere for the bees. This approach enhances the overall success of the hive, allowing bees to exhibit natural behaviors effectively.
Enhanced Bee Welfare
Bee welfare stands at the forefront of the Warre hive benefits. Its vertical structure encourages bees to cluster naturally, which aids in maintaining optimal temperatures within the hive. The spacious deep boxes allow for better air circulation and insulation, protecting bees from extreme weather conditions. Fewer disturbances mean that bees can establish strong, healthy colonies with lower stress levels. Such an environment fosters longevity and productivity among bee populations. Additionally, the Warre hive supports swarming, allowing bees to reproduce successfully and maintain genetic diversity. Emphasizing these natural behaviors helps ensure robust and thriving colonies.
Increased Honey Production
Increased honey production results from the Warre hive's design and the natural behaviors it promotes. The deep boxes provide ample space for bees to store honey, allowing for greater harvests. The minimal intervention of beekeepers enables bees to focus on foraging and honey-making without interruptions. This leads to more efficient communication within the colony and improved worker productivity. Strengthening the colony naturally promotes better resource management, which can yield higher honey quantities compared to traditional hives. Moreover, the reduced stress on bees translates into healthier foraging habits, resulting in more abundant and high-quality honey production.
Materials Needed for Building a Warre Hive
Gather specific materials to construct a Warre hive effectively. These components ensure the hive provides an ideal environment for your bees.
Types of Wood
Choose durable wood types. Common options include cedar, pine, and plywood. Cedar resists decay and insects, making it a long-lasting choice. Pine is easily accessible and inexpensive, though it may require extra treatment to prolong its life. Plywood provides stability and affordability, but select high-quality options to avoid warping. Ensure all wood is untreated to minimize harmful chemical exposure to your bees. Each box in the hive typically requires dimensions of about 12 inches wide, 12 inches deep, and 10 inches high, allowing ample space for the bees to thrive. Calculate the total number of boxes needed based on your planned hive height and desired production levels.
Insulation Materials
Incorporate effective insulation materials to maintain optimal temperature within the hive. Use materials such as foam board, wool, or straw bales. Foam board insulation offers excellent thermal resistance and is lightweight, fitting well into the hive's design. Wool provides natural insulation while allowing moisture control, crucial for bee health. Straw bales serve as another natural insulator, but ensure they are free of mold and contaminants. Insulating the top cover helps regulate internal temperatures, keeping your bees comfortable during colder months. Each hive can benefit from at least 1 inch of insulation on the outer surfaces to enhance thermal efficiency.
Fasteners and Tools
Gather essential fasteners and tools for effective assembly. Use screws or nails designed for outdoor use to construct the hive securely. Stainless steel screws prevent rust and corrosion, ensuring a longer-lasting build. A power drill simplifies the process, while a handsaw may assist in cutting wood components to size. Additionally, a hammer helps drive nails, and a measuring tape ensures precise dimensions. Consider having clamps to hold structures in place while fastening. A square aids in keeping corners at right angles, ensuring a stable hive shape that can withstand the elements and remain sturdy over time.
Steps to Build a Warre Hive
Building a Warre hive requires careful preparation and assembly. Follow these steps for success.
Preparing the Wood
Select untreated wood for hive construction. Cedar, pine, and plywood work best. Measure and cut the wood into the appropriate dimensions for the boxes. Standard dimensions typically include 12 inches tall and 16 inches wide for each box. Sand the edges to prevent injury to bees. Seal any cut edges with natural wood wax to prolong durability. For insulation, consider cutting panels of foam board or straw bales to fit within the boxes. Proper insulation maintains an optimal temperature, essential for bee health.
Assembling the Hive Boxes
Use the measured pieces of wood to assemble the hive boxes. Join the corners using outdoor screws for stability. Drill pilot holes to prevent wood splitting. Ensure each box has proper ventilation holes; these help regulate humidity and temperature inside the hive. Install dividers if necessary, which can help manage space and insist bees build honeycomb in more organized ways. After assembly, double-check for sturdiness by applying weight to the boxes, confirming they support the necessary load.
Installing the Frames
Install frames within each hive box after assembly. Use a standard frame size of about 8-10 inches in height. Attach the frames to the inner walls of the boxes using screws or nails. Ensure proper spacing between each frame to facilitate bee activity. Install a ⅜ inch space between frames to avoid crowding. After installing, check for secure fit, ensuring the frames stay in place during hive operation. Adding a follower board at the rear can help encourage bees to occupy frames fully.
Adding the Roof
Finish the hive assembly by adding the roof. The roof should be slightly overhanging the boxes to provide an extra layer of protection from rain. Use durable wood, maintaining the same untreated type as the rest of the hive. Construct the roof with insulation material layered, such as foam board or an additional wooden layer, to promote temperature control. Secure the top with screws, ensuring it remains stable even in high winds. Perform a final inspection to confirm all parts are securely fastened before placing the hive in a designated location.
Setting Up the Warre Hive
Setting up a Warre hive involves careful consideration of placement, ground preparation, and introducing bees. Each step ensures a stable environment for your bees, promoting their health and productivity.
Choosing the Right Location
Choosing a proper location for your Warre hive significantly impacts bee health. Position the hive in a sunny area with some shade to protect bees from extreme heat during summer. Select a level ground to prevent hive tipping and ensure proper drainage. Avoid areas with strong winds and low temperatures, as these conditions can stress the colonies. Keep the hive away from heavy traffic and direct disturbances to reduce disruptions. Ensure there is nearby forage for bees, such as flowers and trees. Additionally, maintaining a distance of at least 10 feet from your home or other structures helps create a harmonious environment for your bees.
Preparing the Ground
Preparing the ground for your Warre hive enhances stability and safety. Start by clearing the area of debris, tall grass, and weeds. Level the ground to create a sturdy base for your hive. If necessary, use a shovel to fill any low spots or remove high spots. Consider laying down a concrete slab or using wooden pallets to provide a solid foundation, which also promotes airflow under the hive. Allow enough space around the hive for easy access during inspections and honey harvesting. A clearance of 3 feet on all sides facilitates movement. Ensuring proper ground preparation supports the overall strength of the hive and encourages healthy bee activity.
Introducing Bees to the Hive
Introducing bees to your Warre hive requires careful handling. Start with a healthy package or nucleus colony. Choose a calm day for the transfer, preferably early in the morning or late afternoon. Open the hive and gently place the bees and queen in the top box, allowing them to acclimate. Ensure the queen is out of her cage before closing the hive. Watch for signs of distress, and do not panic if bees seem agitated initially. After closing the hive, leave them undisturbed for a few days to settle. Inspect the hive after a week to confirm that the queen has started laying eggs, indicating successful acceptance. This process lays the foundation for a thriving bee colony in your Warre hive.
Maintaining Your Warre Hive
Proper maintenance of a Warre hive ensures healthy bee colonies and optimal honey production. Focus on regular inspections, managing swarm behavior, and harvesting honey efficiently.
Regular Inspections
Conduct inspections every three to four weeks during active seasons. Inspect for strong bee populations, signs of disease, and sufficient food stores. Look for healthy brood patterns and adequate space for honey storage. Provide that the hive remains dry and free of pests. During inspections, check the hive’s moisture levels. If moisture accumulates, consider adding ventilation. Use a smoker lightly for calming the bees during checks. Avoid unnecessary disturbance by limiting the amount of time spent inspecting. Keep records of your observations to track hive health over time.
Managing Swarm Behavior
Monitor your hive closely for signs of swarming, especially in spring and early summer. Spotting queen cells indicates swarm preparation. If necessary, implement swarm management techniques. Use splits to create new colonies, which involves removing a portion of the bees and brood to another hive. Alternatively, introduce additional boxes to provide more room for the colony to expand. Maintain consistent brood patterns by ensuring proper feeding and health checks. Avoid overcrowding, as it contributes to swarming. Regularly shifting frames between boxes keeps brood and food stores balanced.
Harvesting Honey
Harvest honey when frames are at least 80% capped to ensure proper moisture content. Remove honey supers carefully to minimize disturbance to the bees. Utilize a bee escape or wait for a few days after removal to allow bees to exit. Store honey in clean containers, ensuring swift processing to prevent fermentation. Use tools like an uncapping knife and extractor for efficient processing. Assess honey quality by checking for taste and clarity. Label jars with the harvest date for tracking freshness. Consider leaving some honey for the bees to sustain them through colder months.
Troubleshooting Common Issues with Warre Hives
Dealing with Pests
Monitor the hive regularly to detect pests early. Common pests such as wax moths, varroa mites, and small hive beetles can harm your bee colony. Implement preventive measures like maintaining cleanliness in and around the hive. Use essential oils or traps to control pests without harming bees. Regularly check for signs of infestation, such as webbing from wax moths or bees with deformed wings due to mites. Treat infested hives promptly using appropriate materials or methods to maintain colony health. Keeping the hive strong through proper nutrition and management lessens the chances of pest problems.
Addressing Moisture Problems
Inspect the hive for moisture issues periodically, especially in colder months. Excess moisture can lead to mold growth and threaten bee health. Ensure proper insulation to keep the interior dry. Use materials like foam board or straw to insulate the hive effectively. Monitor humidity levels by checking for condensation on the hive walls or water droplets near the frames. Consider utilizing ventilation holes covered with mesh to allow airflow while keeping bees safe. Absorb excess moisture using moisture-absorbing materials like towels or pads placed under the hive cover. The goal remains to provide a dry environment that supports bee health.
Ensuring Proper Ventilation
Prioritize adequate ventilation in your Warre hive to prevent heat accumulation. Good airflow helps maintain optimal temperature and humidity levels. Create ventilation openings in the upper portion of the hive to encourage airflow. Ensure these openings are shielded from rain while allowing warm air to escape. Regularly check for blockages that may restrict airflow, like debris or comb. Consider adding entrance reducers to control draft without compromising bee movement. Adapt ventilation strategies seasonally to meet temperature changes while ensuring bees remain comfortable and productive.
Tips for Successful Beekeeping with a Warre Hive
Seasonal Considerations
Beekeeping with a Warre hive requires an understanding of seasonal changes. Monitor colony activity through varying temperatures. In spring, anticipate increased activity as bees prepare for foraging. Ensure adequate food stores before winter, as colonies rely on stored honey for survival.
Check the hive during summer, focusing on ventilation and moisture control. If temperatures rise, ensure there is airflow to prevent overheating. In fall, encourage bees to store enough honey for winter. Recognize signs of swarming in early summer. If detected, manage the colony to prevent loss.
Adjust management practices based on seasonal needs. You might consider relocating the hive to improve access to forage in spring or summer. Maintain consistent observations to support your bees through seasonal transitions.
Engaging with Local Beekeeping Communities
Engaging with local beekeeping communities enhances your knowledge and skills. Seek out beekeeping groups in your area, as they often provide valuable resources and support. Attend workshops, meetings, or hive inspections organized by local associations to exchange ideas and experiences.
Online forums and social media groups can connect you with other beekeepers. Share challenges and successes with fellow beekeepers while gaining insights from seasoned veterans. Collaboration within these communities often leads to practical solutions for common beekeeping issues.
Participate in local events like honey fairs or beekeeping competitions. Networking at these events promotes relationships with other beekeepers and local suppliers. Building connections enriches your beekeeping experience and supports your success with the Warre hive.
Conclusion
The Warre hive stands out as a sustainable and efficient choice for beekeepers at any level. Its design supports natural bee behaviors while simplifying management tasks. By prioritizing bee welfare and minimizing intervention, you’re not just enhancing honey production but also fostering a healthier environment for your colonies.
As you embark on your beekeeping journey with a Warre hive, remember the importance of regular inspections and community engagement. Staying informed and connected will empower you to navigate challenges and celebrate successes. With the right approach, you’ll enjoy the rewarding experience of beekeeping while contributing to the well-being of these vital pollinators.
Frequently Asked Questions
What is a Warre hive?
The Warre hive is a vertical beehive designed to mimic a bee's natural habitat. Made from stacked boxes, it allows bees to build honeycomb and raise brood with minimal intervention from beekeepers, promoting healthier colonies and easier maintenance.
How does a Warre hive benefit bees?
A Warre hive supports the natural behaviors of bees, such as clustering and swarming. Its design helps regulate temperature and reduces stress levels, contributing to optimal bee welfare and longer-lived, productive colonies.
Is the Warre hive suitable for beginners?
Yes, the Warre hive is ideal for beginners. Its simple design and minimal maintenance requirements make it accessible for new beekeepers while providing benefits that experienced beekeepers appreciate as well.
What materials are needed to build a Warre hive?
To build a Warre hive, you'll need untreated wood like cedar or pine, insulation materials (foam board or straw), outdoor screws, a power drill, and measuring tools. Proper materials ensure durability and safety for the bees.
How do I set up a Warre hive?
When setting up a Warre hive, choose a sunny location with some shade, prepare the ground for stability, and introduce bees carefully. Ensure the hive is level and that you provide a good forage area nearby.
How often should I inspect my Warre hive?
Regular inspections every three to four weeks during active seasons are recommended to check bee health, manage swarm behavior, and ensure adequate food stores. This proactive approach helps maintain a thriving colony.
What are common issues with Warre hives?
Common issues include pest management, moisture control, and ventilation. Beekeepers should monitor for pests, manage moisture levels to prevent mold, and ensure proper ventilation to maintain hive conditions for optimal bee health.
What tips can help with successful beekeeping in a Warre hive?
Success with a Warre hive involves understanding seasonal changes, adjusting management practices accordingly, monitoring colony activity, ensuring food stores, and engaging with local beekeeping communities for shared resources and experiences.
Ready to Embrace Natural Beekeeping?
If you're excited to support healthier bees and enjoy a more sustainable approach to beekeeping, the Warre hive is your next step. Whether you're just starting or looking to simplify your setup, this hive design offers the perfect balance of nature and functionality. Start building your own Warre hive today and give your bees a home they’ll thrive in!
Need help getting started? Check out our recommended tools, materials, and guides for Warre hive construction.