
If you’ve ever marveled at the busy buzz of bees, you might be considering taking the plunge into beekeeping. Starting your own hive can be an incredibly rewarding experience, offering not just honey but also the joy of nurturing these vital pollinators. With the right knowledge and tools, you can create a thriving environment for bees while enjoying the benefits they bring to your garden and local ecosystem.
Bee Hives for Beginners
Starting with bee hives requires understanding the basic components and steps involved. You must select a suitable location for your hive. Choose an area with sunlight and protection from strong winds. Ensure access to water nearby as bees need it for various purposes.
Selecting the right type of hive plays a critical role. Most beginners opt for the Langstroth hive due to its ease of use. This hive features removable frames, simplifying honey extraction and hive management. Other options include Top-Bar and Warre hives, each with distinct designs and benefits.
Gather essential equipment to support your beekeeping efforts. Key tools include:
- Bee suit: Protects against stings.
- Gloves: Offers hand protection during hive inspections.
- Veil: Prevents bees from flying into your face.
- Hive tool: Assists in opening the hive and manipulating frames.
- Smoker: Calms bees during inspections, reducing aggression.
Understanding bee behavior aids in successful hive management. Honey bees are social insects living in colonies. Recognizing their communication methods and the roles of different bee types (workers, drones, and the queen) enhances your management skills.
Establishing your hive involves a few straightforward steps.
- Prepare the site: Ensure a flat, stable surface for the hive.
- Set up frames: Install frames with foundation sheets in the hive body.
- Introduce bees: Purchase bees from a reputable source, such as a local apiary or supplier. Obtain a package of bees or a nuc (nucleus colony) with a queen.
- Feed newly introduced bees: Provide sugar syrup for energy during the first weeks.
Regular hive inspections are essential. Schedule inspections every 7 to 14 days, ensuring you monitor bee health, brood patterns, and honey production. Look for signs of diseases or pests to prevent issues.
Harvesting honey is an exciting part of beekeeping. Wait until the frames are full and the honey cells capped, indicating readiness for harvest. Use a honey extractor to efficiently extract honey while preserving beeswax.
Learn about proper winterization techniques to protect your hive during colder months. Insulate the hive and reduce entrance size to keep out drafts while allowing bees to ventilate.
Following these steps leads to a successful beekeeping experience. With attention and care, you foster bee health, contribute to the environment, and enjoy the sweet rewards of honey production.
Understanding Bee Hives
Bee hives serve as homes for honey bees, crucial for their survival and productivity. Understanding the types and parts of a hive helps you manage your bees effectively.
Types of Bee Hives
- Langstroth Hive
Langstroth hives feature removable frames that allow for easy access to the bees and honey. This type remains popular for its user-friendly design and efficient honey production.
- Top-Bar Hive
Top-bar hives consist of wooden bars that hang horizontally across the top. These hives support natural comb building, often preferred by those who emphasize a more hands-off approach.
- Warre Hive
Warre hives stack vertically with minimal intervention. This type focuses on natural bee behavior, allowing colonies to grow and thrive under conditions resembling their wild counterparts.
- Flow Hive
Flow hives contain a plastic honeycomb structure. This innovative design allows for easy honey extraction without disrupting the bees. This hive appeals to beginners looking for convenience.
Parts of a Bee Hive
- Hive Body
The hive body houses the frames and serves as the main living area for bees. It contains the queen bee, brood, and honey stores.
- Frames
Frames hold the wax or plastic foundation where bees build comb. They are removable for honey extraction or hive inspection.
- Supers
Supers are added on top of the hive body for honey storage. Bees fill these boxes during the honey flow season.
- Queen Excluder
A queen excluder is a barrier that prevents the queen from laying eggs in honey supers. This keeps honey and brood separate.
- Lid
The lid protects the hive from weather elements. It insulates the hive and prevents animals from getting inside.
- Entrance Reducer
An entrance reducer limits hive access, aiding in the defense against pests and promoting bee security. Adjusting it during different seasons optimizes hive health.
Materials Needed
Starting a bee hive requires specific materials to ensure a productive and healthy environment for your bees. Below is a list of essential equipment and protective gear necessary for beginner beekeepers.
Essential Equipment
- Bee Hive: Choose a Langstroth hive, which features removable frames and is user-friendly for beginners.
- Frames: Invest in wooden frames and foundation wax to support the bees’ comb-building.
- Hive Tool: Use a hive tool for safely opening and inspecting the hive, scraping excess wax, and prying apart sticky frames.
- Smoker: A smoker calms bees during inspections. Fill it with dry leaves, pine needles, or wood chips for best results.
- Feeder: A feeder provides sugar water for bees during their initial weeks, helping them establish the hive.
- Queen Excluder: This prevents the queen from laying eggs in the honey supers, keeping honey clean and separated.
- Bee Brush: A soft bee brush gently moves bees without harming them during inspections.
- Honey Extractor: For honey harvesting, use a honey extractor to spin and extract honey from comb without damaging it.
Protective Gear
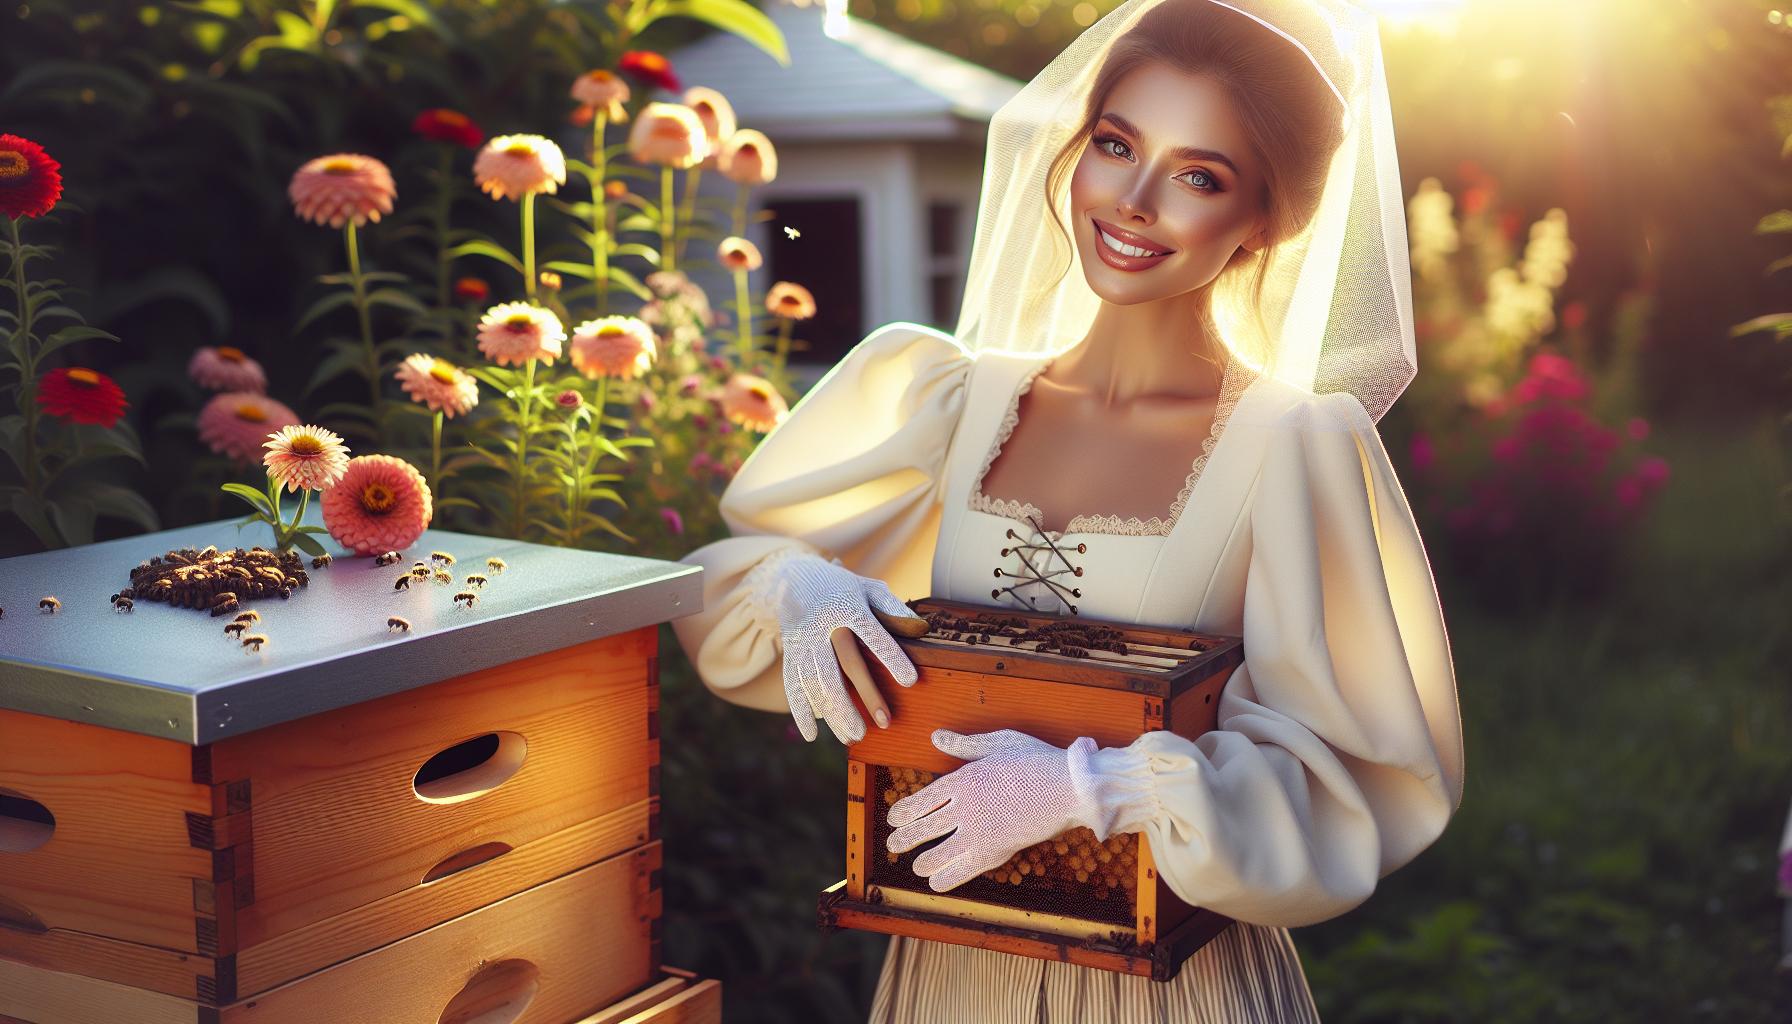
- Bee Suit: Wear a lightweight, ventilated bee suit to protect yourself from stings. Look for one that covers your entire body.
- Gloves: Use nitrile or leather gloves with a long cuff to shield your hands. Choose a comfortable size for easy manipulation of hive components.
- Veil: A veil protects your face and neck from bee stings while allowing clear visibility. Choose one attached to the suit or a separate option.
- Boots: Wear solid shoes or boots to protect your feet. Opt for tall boots for added leg protection.
- Hat: Consider wearing a wide-brimmed hat with a veil attachment for sun protection and comfort during hive inspections.
- First Aid Kit: Keep a first aid kit nearby for potential allergic reactions or stings, containing items like antihistamines and bandages.
Collecting these materials ensures your readiness for successful beekeeping and supports the health and productivity of your bee colony.
Setting Up Your Bee Hive
Setting up your bee hive involves careful planning and execution to create an ideal environment for your bees. Below are key steps that simplify the process.
Choosing the Right Location
Selecting a location for your bee hive impacts colonization and productivity. Choose a spot that receives at least six to eight hours of sunlight daily to maintain hive warmth. Position the hive near a water source to help bees hydrate, such as a stream, pond, or birdbath. Ensure the area has wind protection, provided by natural barriers like trees or buildings. Opt for a level ground surface to prevent issues with hive stability. Maintain distance from heavy foot traffic to lessen disturbances. Confirm that your chosen location is in compliance with local regulations regarding beekeeping.
Assembling the Hive
Assembling your bee hive involves gathering components and following systematic steps. Start with the hive body; place the bottom board on a level surface. Attach the hive body on top of the bottom board, ensuring it aligns correctly. Insert frames into the hive body, making sure they have foundation sheets for bees to build on. If using supers for additional storage, stack them above the hive body after installation. Secure the lid firmly to protect against pests and weather conditions. Inspect your assembly for gaps that could allow intruders, such as pests or different bee species, into the hive. Apply the entrance reducer to manage the hive entrance size, aiding in bee navigation.
Installing Your Bees
Installing your bees involves careful steps to ensure their successful introduction into the hive.
Purchasing Bees
Select the right bee type for your location and needs. You can choose from packages, nucs, or individual queen bees. Packages typically contain about 3,000 to 12,000 bees, including a queen. Nucs come with a small established colony in a hive frame. They provide a quicker start as they include brood and food resources. Consider local sources for bees to ensure they are adapted to your climate. Local beekeepers or online suppliers may offer bees suitable for your area. When purchasing, check for healthy bees with good disease resistance. Ask about their history and breeding practices. Many beginners find acquiring a package from a reputable supplier to be an excellent starting point. This approach often results in less stress during installation and an easier transition into the new environment.
Introducing Bees to the Hive
Prepare the hive before introducing your bees. Ensure that the hive is assembled and set up with frames inside. Remove the queen's cage from the package and inspect it for any damage or issues. Place the queen cage in the hive, either between frames or hanging from the top. Ensure that the candy plug is facing downward to allow workers to release her. Gently shake the rest of the bees from their package into the hive. Use a soft, repetitive motion to avoid harming the bees. Close the hive entrance temporarily to keep them from flying away. Provide sugar syrup as an initial food source to help them establish themselves in their new home. Monitor the hive closely for the first few days to ensure that the queen is accepted, the workers are foraging, and a thriving community is emerging.
Maintaining Your Bee Hive
Maintaining your bee hive ensures healthy colonies, hive productivity, and successful honey production. Regular attention to your hive encourages a thriving environment for your bees.
Regular Inspections
Conduct Regular Inspections every 7 to 10 days during the active season. Inspecting the hive allows you to evaluate bee health and activity. Check for signs of a healthy queen, such as eggs and larvae present in the frames. Assess honey stores and pollen supplies to gauge if supplemental feeding might be necessary. Look for signs of pests or diseases, which can threaten the colony. Record findings in a notebook. Maintaining a schedule for regular inspections improves hive management and reduces unexpected challenges.
Feeding Your Bees
Feed your bees when natural nectar sources are scarce. Use a 1:1 sugar-water solution during spring to stimulate brood production. Provide this solution in a feeder, ensuring it is accessible but secure. In fall, switch to a 2:1 solution to help bees store energy for winter. Monitor feeding levels to prevent overfeeding, which can lead to fermentation. Consider using pollen substitute during times of low pollen availability to support the colony's protein needs. Healthy bee nutrition promotes colony growth and resilience.
Pest and Disease Management
Pest and disease management remains essential for healthy bee colonies. Regularly check for common pests, such as Varroa mites, wax moths, and small hive beetles. Utilize tools like sticky boards to monitor mite levels. Implement integrated pest management strategies, such as drone comb trapping or chemical treatments when necessary. Foster strong colonies through proper feeding and ventilation to reduce disease incidence. Learn about common bee diseases, like American and European foulbrood, to identify and address issues promptly. Vigilant management prevents infestations and supports a thriving hive.
Harvesting Honey
Harvesting honey marks an exciting milestone in beekeeping, allowing you to enjoy the fruits of your labor. Timing and technique play crucial roles in ensuring a successful honey extraction process.
Tools for Harvesting
Collecting the right tools ensures a smooth honey extraction process. Essential tools include:
- Hive Tool: A multifunctional tool used to pry open hive boxes and scrape off propolis and wax.
- Bee Brush: A soft brush designed to gently remove bees from frames without harming them.
- Honey Extractor: A device that spins frames to extract honey using centrifugal force. Choose between manual or electric models based on your needs.
- Uncapping Knife: A heated knife used to remove the wax caps from honey cells.
- Strainers: Fine mesh or nylon strainers help filter out beeswax and debris from the honey.
- Bottles or Jars: Suitable containers for storing extracted honey, ensuring they are clean and sterilized.
- Protective Gear: Essential clothing like gloves, a veil, and a bee suit to guard against stings during the harvesting process.
Methods of Extraction
Choosing a method for honey extraction involves considering the tools and efficiency. Common methods include:
- Centrifugal Extraction: This widely used method involves using a honey extractor. After uncapping the frames, place them in the extractor and spin to remove honey.
- Gravity Extraction: Place uncapped frames in a warm area. Honey drains by gravity into containers, requiring less equipment but more time.
- Crush and Strain: For small amounts of honey, crush the comb using a clean tool. Strain the mixture through a sieve to separate honey from wax.
- Frame-Freezing: For a less common approach, freeze frames for about 24 hours. When thawed, honey flows out more easily.
Select a method based on the scale of your production and convenience.
Troubleshooting Common Issues
Troubleshooting common issues in beekeeping can enhance your success. Identify problems quickly to maintain healthy hives.
Signs of a Failing Hive
Signs of a failing hive include reduced activity, irregular brood patterns, and a lack of honey stores. Observe bee behavior closely. Look for fewer bees entering and exiting the hive. Inspect for signs of disease or pests, like Varroa mites or American foulbrood. Ensure the queen remains present by checking for eggs and healthy brood. Reduced or absent queen cells indicate issues. Monitor the hive temperature; a cold hive may signal trouble. If necessary, consider requeening to restore vitality. Avoid neglecting these symptoms; taking prompt action can preserve the colony.
Dealing with Bee Aggression
Dealing with bee aggression requires calm and careful management. Identify triggers such as weather, nearby disturbances, or lack of resources. Avoid sudden movements around the hive. Wear protective gear to minimize stings during inspections. Maintain a consistent inspection schedule to reduce stress on the colony. Employ smoke to calm bees when opening the hive; gentle smoke allows for a safer environment. If aggression persists, consider requeening with a gentler strain. Relocating the hive may help if the surrounding area contributes to aggressive behavior. Consistent monitoring of hive conditions can prevent future issues.
Helpful Tips for Beginners
Getting started with beekeeping involves several key strategies. Following these tips can improve your experience and the health of your bees.
Learning Resources
Utilize various resources to enhance your beekeeping knowledge. Look for local beekeeping clubs that offer classes and workshops. Explore online platforms for instructional videos, forums, and articles covering topics from hive management to honey extraction. Consider reading essential books on beekeeping; popular titles include "The Beekeeper's Bible" and "Beekeeping for Dummies." Keep in mind that local agricultural extensions may also provide information tailored to your region. Joining online groups and following experienced beekeepers on social media can offer additional insights. Engaging with diverse educational materials helps clarify complex topics and reinforces best practices.
Connecting with Other Beekeepers
Engage with fellow beekeepers in your area to build a support network. Attend local beekeeping meetings and events to share experiences and learn from others. Networking creates opportunities for mentorship where seasoned beekeepers can offer advice and tips. Participate in community hives or co-ops to gain hands-on experience and observe different methodologies. Explore online platforms and social media groups where you can exchange information and ask questions. Visit other beekeepers’ setups to see different hive styles and management techniques in practice. Forming these connections fosters a strong beekeeping community and enhances your skills.
Conclusion
Starting your beekeeping journey can be an incredibly fulfilling experience. By following the steps outlined in this guide and investing in the right tools and knowledge, you’ll create a thriving environment for your bees. Remember that patience and observation are key to understanding your hive's dynamics and ensuring its health.
As you gain experience, don’t hesitate to reach out to fellow beekeepers and resources in your community. Engaging with others can provide invaluable insights and support. Embrace the learning process and enjoy the sweet rewards that come with your new hobby. Happy beekeeping!
Frequently Asked Questions
What are the benefits of starting a bee hive?
Starting a bee hive offers several benefits, including honey production, supporting local ecosystems, and gaining satisfaction from caring for bees. Bees play a crucial role in pollination, enhancing garden productivity and contributing to biodiversity.
What is the best type of hive for beginners?
The Langstroth hive is often recommended for beginners due to its ease of use and removable frames. This design allows for easy management and harvesting of honey, making it ideal for those new to beekeeping.
What essential equipment do I need for beekeeping?
Essential equipment for beekeeping includes a hive (like a Langstroth), protective gear (suits, gloves, veils), hive tools, smokers, and feeders. Additional tools like honey extractors and queen excluders can also enhance your beekeeping experience.
How should I choose a location for my bee hive?
When selecting a location for your hive, choose an area with ample sunlight, protection from strong winds, and access to water. These conditions help create a supportive environment for your bees.
How can I introduce bees to my hive properly?
To introduce bees, select healthy packages or nucs, prepare the hive, and place the queen's cage inside carefully. Gently transfer the bees and monitor the hive for a few days to ensure the queen is accepted.
How often should I inspect my bee hive?
Inspect your hive every 7 to 10 days during the active season. Regular inspections help evaluate bee health, check for a healthy queen, and assess honey and pollen supplies.
What techniques are used for honey harvesting?
Honey can be harvested using various techniques, such as centrifugal extraction, gravity extraction, crush and strain, or frame-freezing. The method you choose will depend on your production scale and available tools.
What are common troubleshooting tips for beekeepers?
Common troubleshooting tips include observing bee behavior for signs of issues like reduced activity or irregular brood patterns. Address hive aggression by using smoke during inspections and maintaining calm to foster a healthy environment.
What resources can beginners use to enhance their beekeeping skills?
Beginners are encouraged to utilize various resources such as local beekeeping clubs, online platforms, and instructional books. Connecting with experienced beekeepers can also provide valuable insights and hands-on experiences.
Ready to Start Your Beekeeping Journey?
Now that you know the basics of setting up and maintaining a healthy hive, it’s time to put your knowledge into action! Whether you're dreaming of golden honey harvests or simply want to support pollinators in your backyard, the right tools and guidance can set you up for success.
Explore our curated selection of beginner-friendly beekeeping kits and equipment to get started today.
Let your backyard buzz with purpose—your bees are waiting!